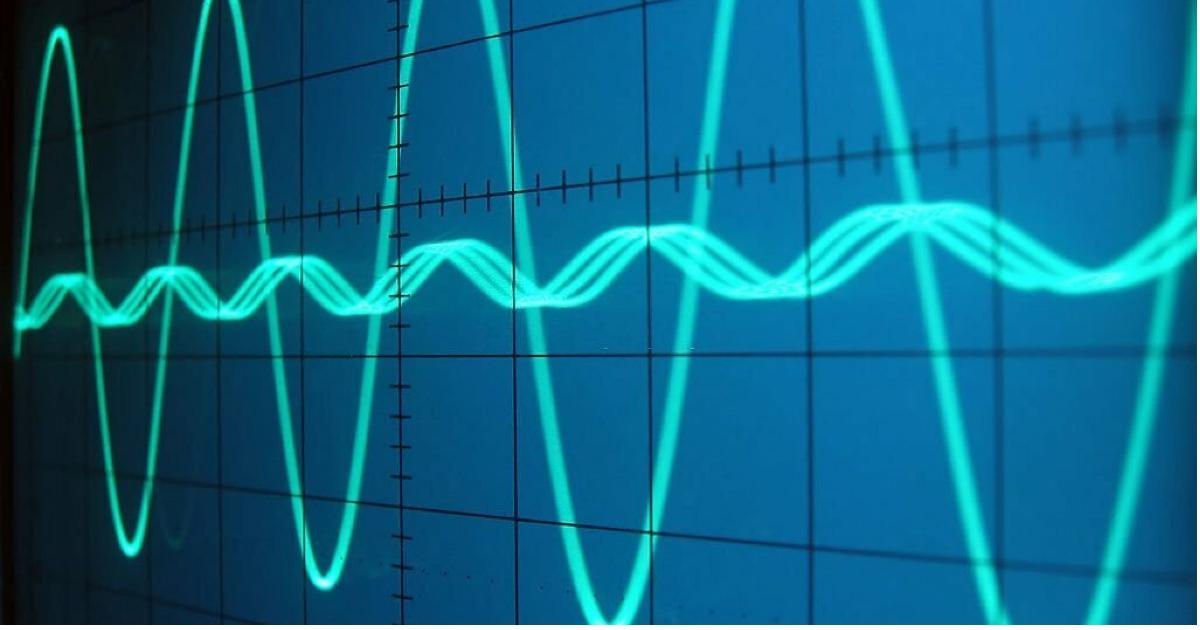
Digital oscilloscopes are like the eyes of an electronics engineer, providing a visual representation of electrical signals. Whether you’re troubleshooting a circuit, designing a new electronic device, or simply trying to understand how a signal behaves, accurate measurements are essential.
In this guide, we’ll delve into practical tips and techniques to ensure you obtain precise readings with your digital oscilloscope. These insights are valuable for both seasoned professionals and newcomers to the world of electronics. By mastering these techniques, you’ll be equipped to tackle a wide range of electronic applications with confidence and accuracy.
Understanding Signal Integrity
Signal integrity is the cornerstone of accurate measurements. It refers to the quality of the signal as it travels from the source to the oscilloscope’s input. To preserve signal integrity, use high-quality coaxial cables and keep them as short as possible.
Additionally, minimize the number of connectors in the signal path. This reduces the chances of signal degradation due to interference or reflections. Remember, even minor disruptions in signal integrity would lead to inaccurate measurements.
Proper Probe Selection and Calibration
Selecting the right probe for the job is paramount. Probes come in various types with different characteristics, including bandwidth, attenuation, and impedance. Match the probe to the frequency range and amplitude of the signal you’re measuring.
Moreover, regular calibration of your probes is essential. This process corrects any deviations and ensures that measurements are accurate across the entire frequency spectrum. Neglecting probe calibration would lead to significant measurement errors, especially at higher frequencies.
Mastering Triggering
Triggering is a fundamental feature of oscilloscopes that stabilizes waveforms on the display. Experiment with different trigger settings to capture the desired signal and reduce noise. Adjust the trigger level to specify the voltage threshold at which the oscilloscope initiates a measurement.
Additionally, explore different trigger types, such as edge triggering or pulse triggering, depending on the nature of the signal. Effective triggering ensures that the oscilloscope captures repetitive signals consistently.
Adjusting Timebase and Voltage Scale
Properly configuring the timebase and voltage scale allows you to visualize the entire waveform and make precise measurements. Adjust the timebase to capture multiple cycles of the signal. A slower timebase setting provides a broader view, while a faster setting allows for detailed examination of individual cycles.
Scale the voltage to fill the screen without distortion. This ensures that the entire waveform is displayed clearly, enabling accurate measurements of amplitude, frequency, and other parameters.
Utilizing Averaging and Persistence Modes
Averaging and persistence modes are valuable tools for reducing noise and revealing subtle details in the waveform. Averaging mode smoothens out jittery signals by averaging multiple acquisitions.
Persistence mode maintains a visual representation of the signal over time, allowing you to observe transient or intermittent phenomena. Experiment with these modes to enhance the clarity of your measurements and uncover hidden patterns in the signal.
Using Cursors for Measurement
Digital oscilloscopes often feature cursor functions that facilitate precise measurements of voltage, time intervals, and other parameters. Cursors provide a visual reference to specific points on the waveform, allowing for accurate quantification of signal characteristics.
Learn how to position and manipulate cursors effectively to obtain accurate and repeatable readings. This feature is particularly useful when precise numerical values are required for analysis or documentation.
Grounding and Probing Techniques
Improper grounding and probing techniques would introduce unwanted noise and distort the signal. Always ensure proper grounding by connecting the ground lead of the probe to a clean and stable ground point. Avoid ground loops, which would lead to inaccuracies in measurements.
Additionally, ensure that the probe tip makes good contact with the test point to avoid measurement errors. Use high-quality probes with adequate shielding to minimize interference from external sources.
Shielding and Shielded Cables
In environments with high levels of electromagnetic interference (EMI), consider using shielded cables and enclosures. Shielded cables contain a conductive layer that acts as a barrier, protecting sensitive measurements from external interference.
Shielded enclosures would provide an additional layer of protection for your oscilloscope setup. By minimizing the impact of EMI, you would ensure that the signals you measure are accurate and representative of the true electrical behavior.
To Sum Up
Accurate measurements are the cornerstone of successful electronic design and troubleshooting. By implementing these practical tips, you’ll unlock the full potential of your digital oscilloscope.
Remember, practice and experimentation are key to becoming proficient in obtaining precise readings. With these techniques in your toolkit, you’ll be well-equipped to tackle a wide range of electronic applications with confidence and accuracy. Happy measuring!


