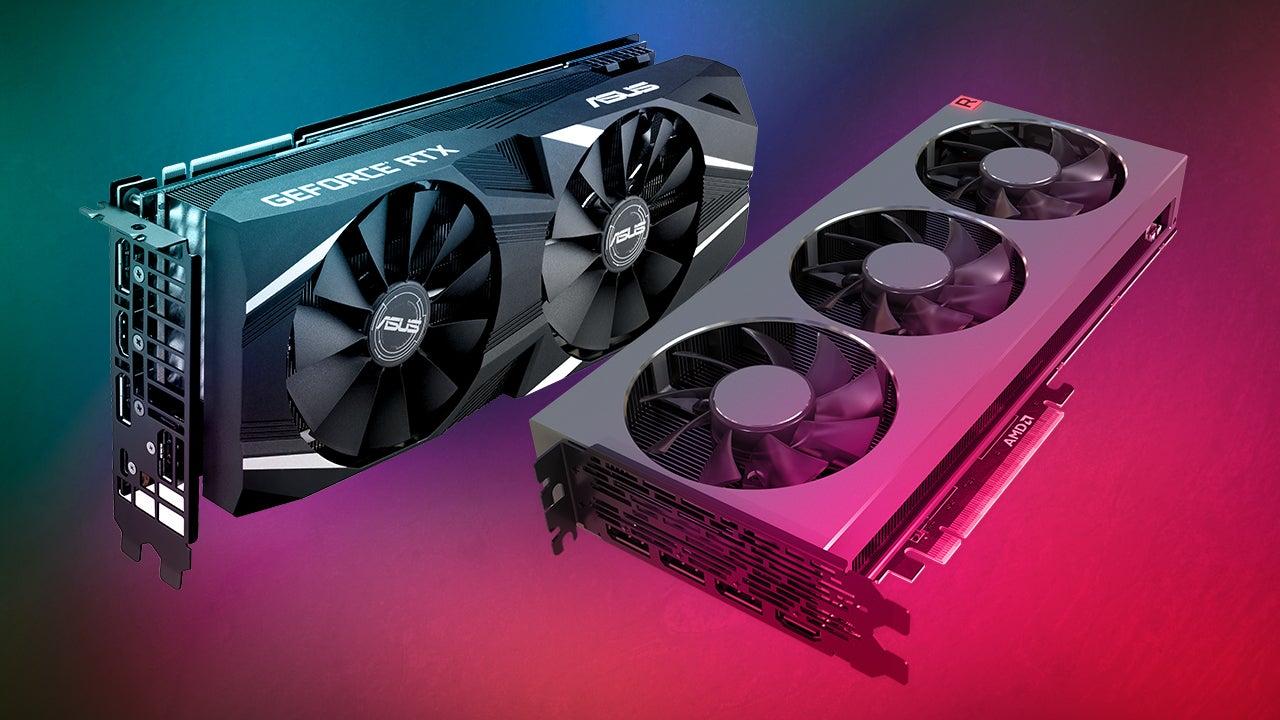
Keeping your computer in top-notch condition is essential for smooth and efficient performance. One often overlooked component that requires regular maintenance is the video graphics card. Over time, dust and debris can accumulate on the card’s surface, leading to overheating and reduced performance. For beginners, the idea of cleaning a video graphics card might seem daunting, but fear not – we’ve put together a simple guide to help you clean your video graphics card effectively in just a few easy steps.
Step 1: Gather the Necessary Tools
Before you start cleaning your video graphics card, gather the essential tools you’ll need. You’ll require a can of compressed air, an anti-static wristband, a soft-bristled brush, and a microfiber cloth. Make sure your computer is powered off and unplugged before you begin the cleaning process.
Step 2: Discharge Static Electricity
Wearing an anti-static wristband, attach the metal clip to a grounded metal surface to discharge any static electricity from your body. This precautionary step prevents potential damage to sensitive electronic components on the video graphics card.
Step 3: Remove the Graphics Card
Carefully open your computer case and locate the video graphics card. Gently release any securing mechanisms, such as clips or screws, and remove the card from its slot on the motherboard. Place the card on an anti-static surface.
Step 4: Use Compressed Air
Hold the video graphics card firmly but gently, and use the can of compressed air to blow away dust and debris from the card’s surface and the surrounding components. Pay close attention to the fan blades and heat sink, as these areas tend to accumulate the most dust. Keep the can upright while spraying to prevent any liquid from escaping, and hold the fans in place to prevent them from spinning during cleaning.
Step 5: Brush and Wipe Carefully
For stubborn dust particles, use a soft-bristled brush to dislodge them gently. Be cautious not to apply too much pressure, as you don’t want to damage the delicate components. Once the loose dust is removed, use a microfiber cloth to wipe the card’s surface and ensure it’s completely clean.
Step 6: Reassemble Your Computer
Once you’re satisfied that the video graphics card is clean and free of dust, carefully reinsert it into its slot on the motherboard. Secure it in place with the clips or screws you removed earlier. Close your computer case and reconnect all the cables.
By following these simple steps, you can clean video graphics card effectively, even if you’re a beginner. Regular maintenance of your computer components, including the graphics card, ensures optimal performance and prolongs the lifespan of your hardware.
Conclusion:
In conclusion, cleaning your video graphics card doesn’t have to be a daunting task. With the right tools and a gentle touch, beginners can effectively remove dust and debris, allowing their graphics card to function at its best. Remember to perform this cleaning process periodically to keep your computer running smoothly and enjoy a seamless gaming or multimedia experience.


