Introduction to repairing cell phones at home
Welcome to the world of DIY cell phone repair! Has your beloved device suffered a sudden mishap? Perhaps it took an unexpected plunge into the toilet or met its match with a cracked screen. Fear not, intrepid tech enthusiasts, for we have the solution you’ve been seeking. In this blog post, we will guide you through seven simple steps on how to repair your cell phone at home. By following our easy-to-understand instructions and utilizing some basic tools, you can save yourself time and money by becoming your own smartphone superhero. So grab your screwdriver and let’s get started on resurrecting that precious piece of technology!
Step 1: Gather the Necessary Materials and Tools
Repairing your cell phone at home may seem like a daunting task, but with the right materials and tools, it can be easier than you think. Before you begin the repair process, make sure to gather all the necessary items to ensure a smooth experience.
You will need a set of precision screwdrivers. These come in various sizes and are essential for opening up your phone without damaging any delicate components. Additionally, having a pair of tweezers handy will help with handling small parts during disassembly.
Next, grab some plastic pry tools or spudgers. These specialized tools are designed to safely separate the different layers of your phone without causing scratches or breakage. They are especially useful when removing the screen or accessing internal components.
Don’t forget about adhesive strips or glue if you anticipate needing them for reattaching parts that require adhesion. It’s also wise to have an anti-static mat or wrist strap on hand to protect your device from static electricity while working on it.
Keep some cleaning supplies nearby such as cotton swabs and isopropyl alcohol for wiping down surfaces and removing dirt or grime that may affect performance.
By gathering these necessary materials and tools beforehand, you’ll be well-prepared to tackle any cell phone repair project at home!
Step 2: Identify the Problem
When it comes to repairing your cell phone at home, the first thing you need to do is identify what exactly is wrong with it. Is it a cracked screen? Battery not holding a charge? Speaker not working? By pinpointing the problem, you can then focus on finding the right solution.
One way to determine the issue is by conducting a thorough visual inspection of your device. Look for any visible signs of damage or wear and tear. Cracks, water damage, or loose connections are all common culprits that can cause various problems with your phone’s functionality.
If there are no obvious external issues, try using diagnostic tools available online or through mobile apps. These tools can help diagnose software-related problems such as freezing screens or constant crashes.
Sometimes, identifying the problem may require some trial and error. You might need to power cycle your phone (turning it off and on) or try different troubleshooting methods suggested by experts in forums or tutorials.
Remember, patience is key during this step. Take your time to carefully observe and test different aspects of your phone until you have a better understanding of what needs fixing.
Step 3: Back Up Your Data
One of the most crucial steps in repairing your cell phone at home is to back up your data. We all know how important our data is – precious photos, important contacts, and vital documents. Losing them can be a nightmare!
To ensure you don’t lose any valuable information during the repair process, it’s essential to create a backup. This way, if anything goes wrong or you accidentally delete something while working on your phone, you’ll have a copy to fall back on.
There are various ways to back up your data depending on the type of phone you have. For iPhones, you can use iCloud or iTunes to create a full backup of your device. Android users can utilize Google Drive or other cloud storage services.
It’s also a good idea to transfer any files or documents from your phone onto another device such as a computer or external hard drive. This extra precaution ensures that even if something happens during the repair process, your data will still be safe and accessible.
Remember, taking the time to back up your data may seem like an additional step in the repair process but trust me; it’s well worth it! Don’t risk losing those precious memories or important information – always prioritize backing up before attempting any repairs on your cell phone.
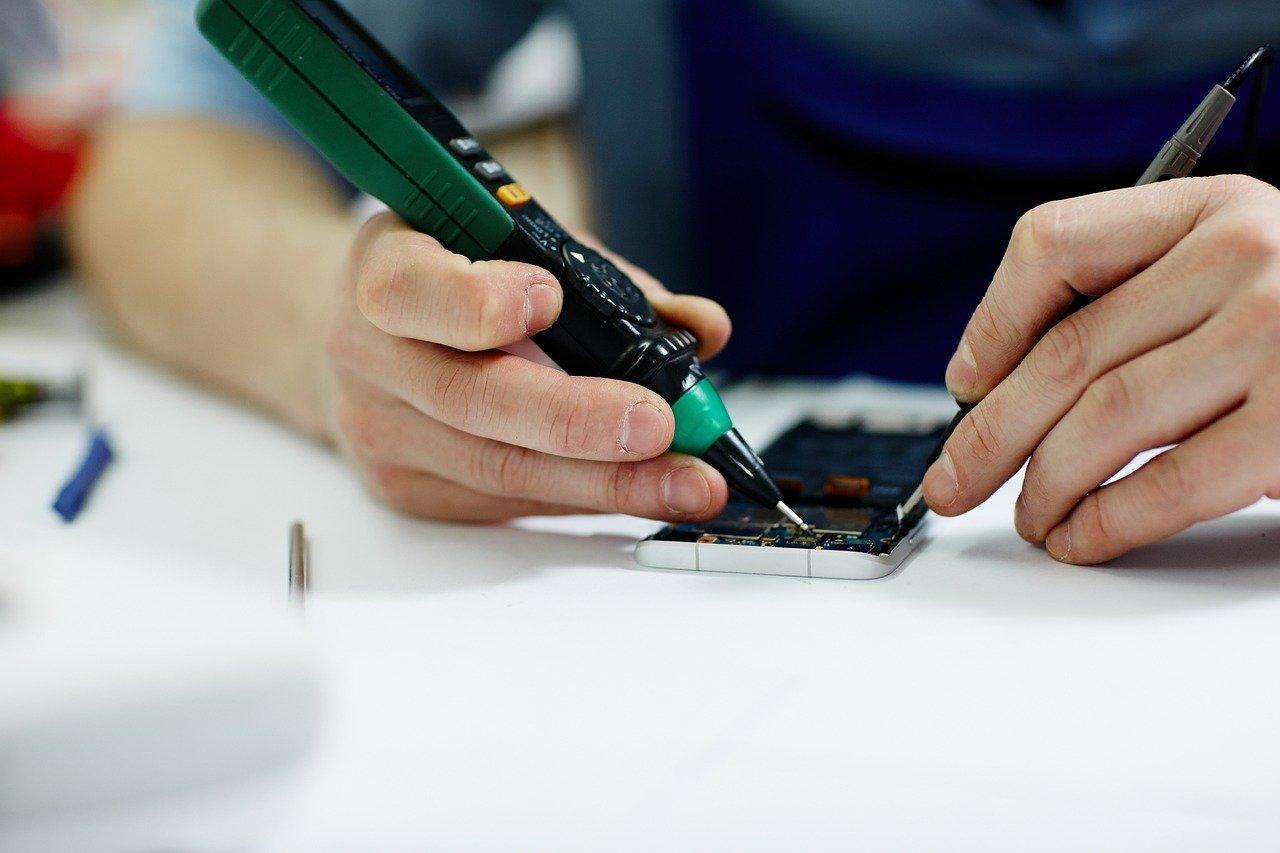
Step 4: Disassemble Your Phone
Now that you have identified the problem with your cell phone, it’s time to take the necessary steps to fix it. One of the crucial stages in repairing a cell phone is disassembling it. This allows you to access and inspect the internal components more effectively.
To begin, make sure you have a clean and clutter-free workspace where you can comfortably work on your device. Gather all the required tools such as screwdrivers, pry tools, and tweezers. Refer to online tutorials or manuals specific to your phone model for guidance on how to properly open your device without causing any damage.
Once you have removed the back cover or casing, carefully detach any connectors or ribbons connected to various parts of your phone’s motherboard. Take note of each step and keep track of where every component goes as this will ease reassembly later on.
Be cautious when removing screws or prying apart different sections of your phone as excessive force may cause irreversible damage. Remember that patience is key during this process.
By disassembling your cell phone correctly, you gain better access to diagnose and repair issues like loose connections, water damage, or faulty components. It’s important not to rush through this step so that you can address problems accurately without causing further harm.
Stay tuned for our next blog section where we will discuss Step 5: Clean and Repair or Replace Damaged Parts – an essential stage in restoring functionality back into your beloved device!
Step 5: Clean and Repair or Replace Damaged Parts
Now that you’ve successfully disassembled your phone, it’s time to take a closer look at the internal components. The first step in cleaning and repairing your cell phone is to carefully inspect each part for any signs of damage or wear. Pay special attention to the screen, buttons, battery, camera lens, and charging port.
If you notice any corrosion or debris on the components, gently clean them using a soft cloth or brush dipped in isopropyl alcohol. Be sure to remove any excess moisture before moving on to the next step.
Next, assess if there are any parts that need repair or replacement. Common issues include cracked screens, malfunctioning buttons, and faulty batteries. If you have the necessary skills and tools, you can attempt to fix these problems yourself by following online tutorials or referring to repair manuals specific to your phone model.
However, if you’re not confident in your abilities or don’t have access to spare parts, it’s best to consult a professional technician who specializes in cell phone repairs. They will be able to accurately diagnose the issue and provide expert solutions.
Remember that patience is key during this process as repairing certain components may require precision and delicate handling. Take your time and always refer back to instructional resources when needed.
Stay tuned for Step 6: Reassemble Your Phone where we’ll guide you through putting all the pieces back together!
Step 6: Reassemble Your Phone
Now that you have cleaned and repaired or replaced the damaged parts of your cell phone, it’s time to put everything back together. This step requires precision and careful attention to detail.
Start by referring to any notes or photos you took during the disassembly process. This will help you remember how the various components fit together. Begin by reconnecting any cables or connectors that were detached earlier. Make sure they are properly aligned and securely fastened.
Next, carefully place the battery back into its compartment, ensuring that it is inserted correctly and snugly. Then, reattach the rear panel or cover of your phone using the appropriate screws or clips.
Take a moment to double-check all connections and ensure that nothing is loose or out of place. Once you’re confident everything is in order, power on your phone to test if it functions properly.
Remember, patience is key during this step as rushing could lead to mistakes or further damage. Take your time and follow each step meticulously for a successful reassembly process.
Stay tuned for our next section where we’ll cover Step 7: Testing Your Repaired Phone!
Step 7: Test Your Repaired Phone
Now that you have successfully repaired your cell phone, it’s time to put it to the test! This step is crucial in ensuring that all the repairs were done correctly and that your phone is fully functional again.
First, reinsert the battery into your phone and power it on. Take note of any unusual behavior or error messages that may appear during startup. If everything seems normal, proceed to check each component of your phone, starting with the display.
Swipe through different apps and menus to make sure there are no dead pixels or touchscreen issues. Test the volume buttons, power button, home button, and other physical buttons for responsiveness. Check if the charging port is working properly by plugging in a charger or connecting a USB cable.
Next, make a test call to ensure that both the microphone and earpiece are functioning correctly. Try sending text messages and emails to see if there are any issues with connectivity or typing.
Test out both Wi-Fi and cellular data connections by browsing websites or streaming videos online. Pay attention to signal strength and connection speeds.
By thoroughly testing your repaired phone after completing all repairs, you can be confident in its functionality before putting it back into regular use.
Tips for Preventing Future Damage
Repairing your cell phone at home can save you time and money, but it’s always best to prevent damage in the first place. Here are some tips to help you keep your phone in good working condition:
1. Use a protective case: Investing in a sturdy case can provide an extra layer of protection against accidental drops and bumps.
2. Apply a screen protector: A tempered glass screen protector can safeguard your phone’s display from scratches and cracks.
3. Keep it dry: Avoid exposing your phone to water or other liquids, as moisture can cause significant damage to internal components.
4. Be mindful of temperature extremes: Extreme heat or cold can negatively impact the performance of your cell phone, so try not to leave it in very hot or cold environments for extended periods.
5. Handle with care during charging: Plugging and unplugging the charger should be done gently to avoid damaging the charging port.
6. Regularly clean ports and openings: Dust, lint, and debris can accumulate in charging ports and headphone jacks, affecting their functionality. Clean them regularly using compressed air or a soft brush.
7. Update software regularly: Keeping your operating system up-to-date ensures that any bugs or vulnerabilities are patched, reducing the risk of malfunctions or security breaches.
By following these simple steps and taking preventive measures, you’ll reduce the likelihood of needing extensive repairs on your cell phone down the line!
Remember that while DIY repairs may work for minor issues like replacing screens or batteries, more complex problems should be left to professionals who have specialized knowledge and tools.